Once you create the page to hold the form you will need to add fields. From the actual VIEW of your page or from the EDIT overlay screen, click the WEBFORM tab.

Notice that the WEBFORM overlay has three sub areas – Form components, E-mails, and Form settings. We’ll look at each.
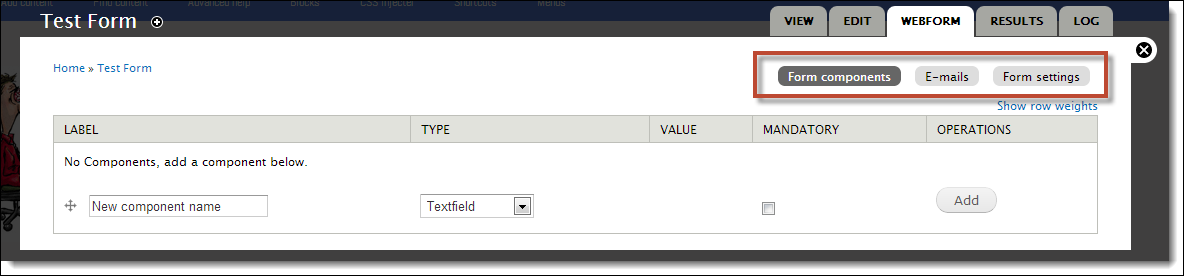
The Form components area is where you will create the fields for your form.
To add fields:
1. Add the field name in the New component name box.
2. Select a Type for the field display from the drop-down list. Be sure to choose the appropriate Type. Some fields (e.g., time, number) have built in validation and some will offer the user widgets for easy data entry (e.g., date) See explanation of types below.
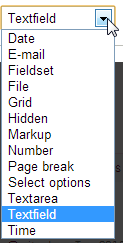 Textfield – displays text on single line
Textarea – displays text on multiple lines
Fieldset – group fields together as a unit
Hidden – captures information but does not display
Markup – allows you to insert html and css
Page break – will force a page break within the form
Select options – lets you use radio buttons and check boxes
3. Click Add. You will see the Edit component overlay where you can adjust settings for this field.
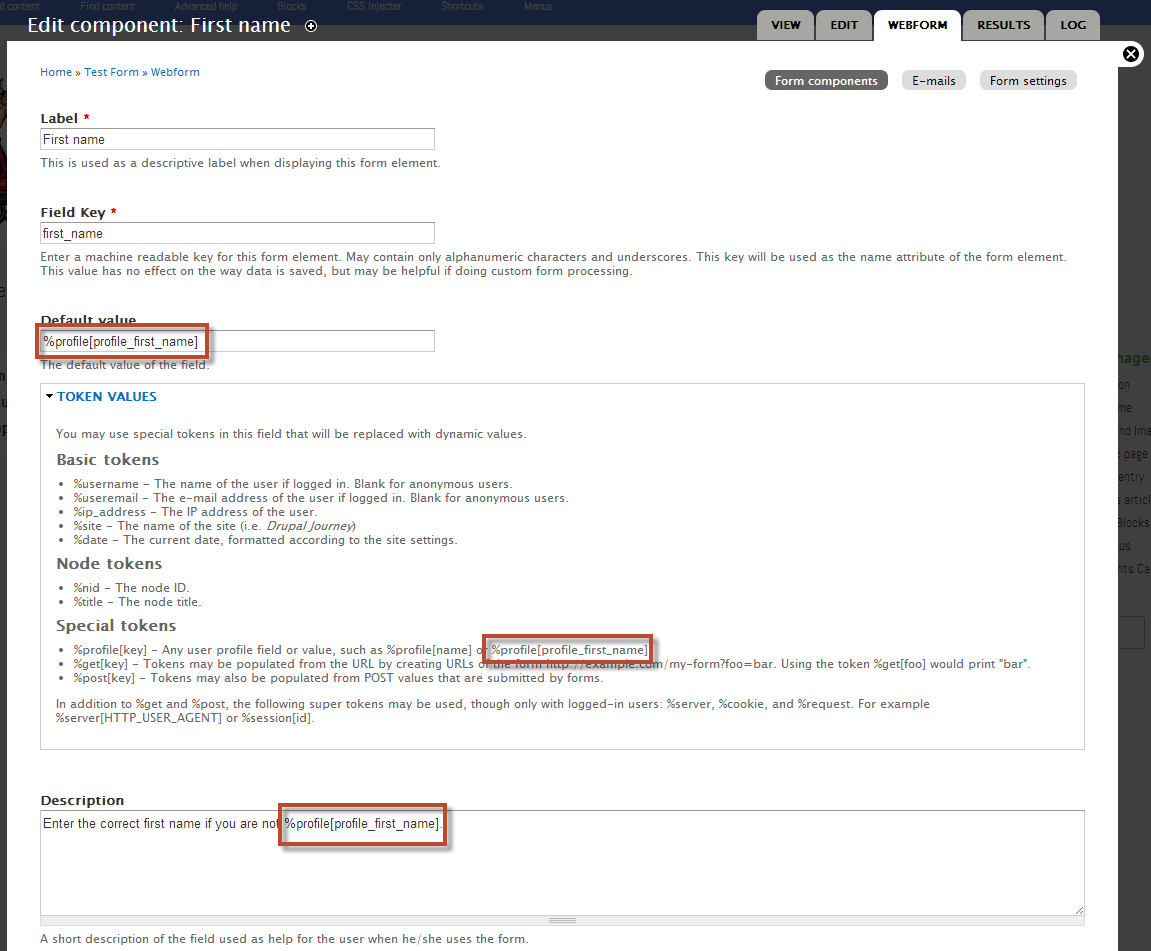
Make adjustments to the field settings:
- Edit the field Label if you desire.
- Add a Default value (optional) which will display automatically. The user may change this.
- Add a Description to help the user enter data in this field.
Notice the use of a token. A token is a quick way of using some information the systsem knows such as site name, user name, or date. Here the token %profile[profile_first_name] is used to add the person’s first name by default to save the user time.
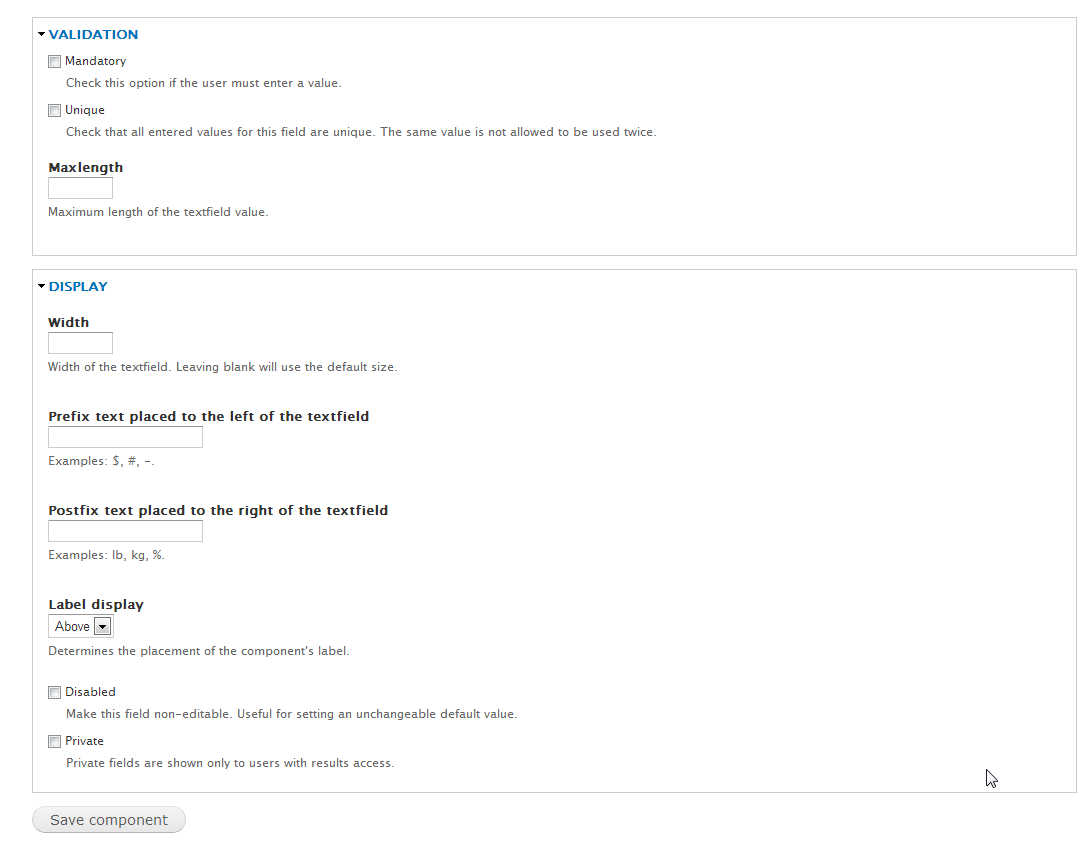
- Add Validation options to ensure the user enter data (Mandatory) which no one else has entered (Unique). Restrict data to a Maxlength of characters.
- Set the maximum Width for this field (in characters).
- Add a Prefix or Postfix to be added to the field data.
- Set the field Label display to appear above or below the entry box.
- Check Disabled to add a unchangeable default value.
- Check Private to limit viewing of this field to those with permission.
Be sure to click Save component. Repeat this process for each field you need.
To see your form click the VIEW tab or close the overlay screen.
You can return to the EDIT and WEBFORM tabs at any point to change the web form page or edit the fields in you form.