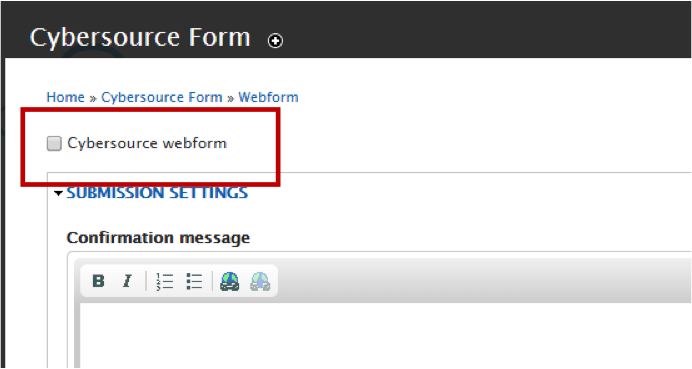
- To enable Cybersource interaction for you web form, click Form settings and then check the box for Cybersource webform. This will display the Cybersource settings for your form.
- Apply the following settings:
- Shopmit System: Choose Test to forward data to the Cybersource test environment, or Production to forward information to the Cybersource production environment.
- Merchant ID: Enter your merchant ID which you received from MIT Merchant Services.
- Secure Acceptance Profile: Specifying a secure acceptance profile is optional. If you do not specify a profile, the default profile will be used. To specify a secure acceptance profile, enter your Profile ID and Access Key.
- Click Save configuration to save the form as a Cybersource webform.
- Click Form components. You will notice that additional hidden webform components have been added.
- requestID
- paymentOption
- card_accountNumber
- reasonCode
- decision
These fields are for storing transaction result information from Cybersource and cannot be modified. They are considered reserved fields. If your webform already has components with the same names they will be deleted and replaced with hidden field components when the webform is saved as a Cybersource webform.
- Click Form settings to return to the configuration screen.
- Below the Access Key field you will see a series of fields.
These are the fields available in the Cybersource system. For each Cybersource field, select which of your Drupal Cloud webform fields should be mapped to it. When you map a webform field to a Cybersource field, the value in the webform is passed to the Cybersource system to autofill the order form. The Amount field is required. All others are optional. If, for example, you map your "first_name" field to the "Bill To First Name" in Cybersource, your visitor will not have to re-type his or her first name. Any information you do not pass from your webform to Cybersource will need to be typed in by your visitor.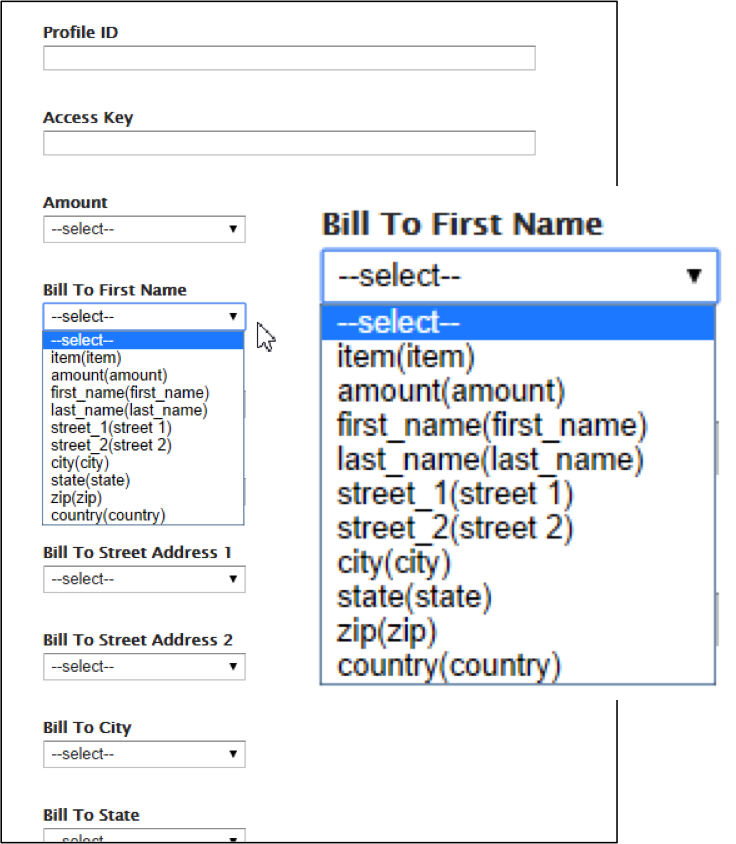
Cybersource fields
- Amount (required)
- Bill To First Name
- Bill To Last Name
- Bill To Company
- Bill To Street Address 1
- Bill To Street Address 2
- Bill To City
- Bill To State
- Bill To Postal Code
- Bill To Country
Note: Cybersource uses two uppercase character country codes. - Bill To Customer ID
- Bill To Email
- Bill To Phone Number
- Merchant Defined Data 1 – 10
Note: Cybersource lets you create several merchant defined data fields. If you have created these fields in Cybersource, select the Drupal webform components you want to use for Merchant Defined Data fields 1 – 10 respectively.
Note: Some webform components such as select options and grids can store multiple values. Cybersource values are single strings. The Cybersource module encodes multiple values as JSON strings when sending data to Cybersource and decodes them when saving the webform submission data. It is recommended that any webform component that stores multiple values is mapped to a Merchant Defined data field.
Custom Receipt Page
The default receipt page includes the amount, orderNumber, and any fields you've mapped to Cybersource fields.
To create a custom receipt page check the box next to Use Custom Receipt Page. The custom receipt page allows you to override the default receipt page with your own html markup. You can embed your webform components to be used in the receipt page by selecting the field from the Smart Tag dropdown menu and then clicking the Add button.
For example, the following template will create a table including the first and last name, request ID, and amount:
<table>

<tr><th>Name</th><td>##first_name## ##last_name##</td></tr>

<tr><th>Request ID</th><td>##requestID##</td></tr>

<tr><th>Amount</th><td>##price##</td></tr>

</table>